

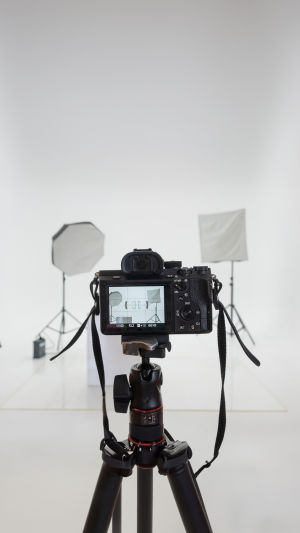
Great indoor photography is less about having elaborate equipment and more about understanding how light interacts with your subject.
A lamp, ceiling fixture, or continuous light can provide effective illumination when positioned thoughtfully.
By controlling direction, intensity, color, and exposure, you can create clean and visually engaging photographs in almost any room.
<h3>Choose Your Main Light</h3>
Begin with one primary light source and observe how it falls across the subject. A shaded lamp generally produces softer illumination, while a direct source creates stronger definition.
Position the light slightly to the side rather than directly behind the subject. This helps reveal shape and creates a natural sense of dimension.
<h3>Shape the Illumination</h3>
If the light appears too intense, move the source farther away or use a photography diffuser designed for the equipment. A larger light source can also produce smoother transitions between illuminated and shaded areas.
For safety, use only accessories designed for the specific lighting equipment and keep materials away from hot bulbs.
<h3>Refine the Composition</h3>
The subject's position can change the appearance of the entire photograph. For portraits, a slight turn can create more dimensional lighting. For objects, changing the viewing angle can reveal different details, textures, and forms.
Keep the background simple when possible so it supports rather than competes with the main subject.
<h3>Control Contrast</h3>
Shadows can contribute depth and structure to an image. When one side becomes too dark, place a white board or light-colored surface nearby to reflect some illumination toward the subject.
This technique provides gentle fill without introducing another strong light source.
<h3>Fine-Tune Exposure</h3>
Indoor scenes often require careful exposure adjustments. Aperture controls how much light enters the camera and also affects background blur. Shutter speed determines how long the sensor receives light, while ISO adjusts the camera's exposure response.
A practical starting point is:
- Aperture: Use a wider setting when you need more light or want a softer background.
- ISO: Start with a moderate value and adjust according to the available illumination.
- Shutter speed: Select a speed appropriate for the subject and camera movement.
- White balance: Use Auto White Balance or adjust it when the colors appear noticeably warm or cool.
On a phone, tap the subject to focus and adjust the exposure control to fine-tune brightness.
<h3>Keep Colors Consistent</h3>
Indoor lighting can vary in color, particularly when different types of light sources are used together. Keeping the main sources similar in color characteristics can produce a more unified result.
This is especially useful for products, interiors, and still-life photography.
<h3>Test Before Shooting</h3>
Make small adjustments to the light and composition, then take a few test photographs. Compare the results for brightness, contrast, color, and background balance.
Small changes can have a significant effect on the final image, so careful observation is often more valuable than adding more equipment.
<h3>Create Polished Indoor Photographs</h3>
Strong indoor photography comes from purposeful decisions rather than a complicated setup. A suitable light source, thoughtful composition, controlled contrast, and accurate exposure can transform an ordinary room into an effective photography space.
Practice with different lighting positions and camera settings to develop a better understanding of how light shapes the final image.