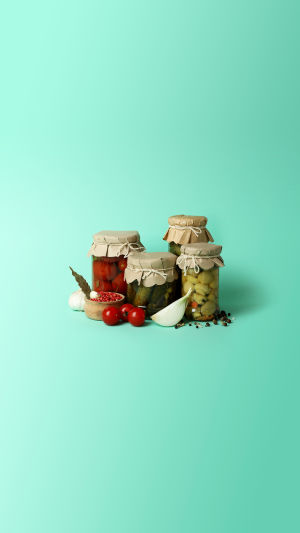
Hey Lykkers! Ever tried pickling veggies? Homemade pickles are so much better than store-bought, plus you get total control over flavors and ingredients. And, it’s super easy!
So, let’s dive into the wonderful world of pickling with a unique recipe you’ll love.
<h3>Why Pickle at Home?</h3>
Why pickling? Well, homemade pickles allow you to explore your favorite flavors and use up extra veggies you have lying around. Carrots, radishes, cucumbers, even cauliflower—almost anything can be pickled. You also skip artificial additives, so you know exactly what you’re eating.
<h3>Pickling Basics</h3>
Pickling means preserving veggies in a vinegar-based brine. The essentials are simple: vinegar, water, salt, and a bit of sugar if you like it sweet. Here’s the basic brine formula:
<b>• Vinegar:</b> White or apple cider vinegar works great.
<b>• Water:</b> Dilutes the vinegar.
<b>• Salt:</b> Sea salt or kosher salt is ideal.
<b>• Sugar:</b> Optional, but it adds a nice balance.
<b>• Spices and Herbs:</b> Dill, garlic, mustard seeds, or peppercorns—anything you love!
<h3>Unique Recipe: Zesty Rainbow Veggie Pickles</h3>
Ready to make your own? Try Zesty Rainbow Veggie Pickles! They’re colorful, crunchy, and delicious. Here’s what you’ll need.
<b>Ingredients:</b>
• 1 cup thinly sliced carrots (122gr)
• 1 cup cucumber spears (151 gr)
• 1 cup radish slices (116 gr)
• 1/2 cup cauliflower florets (100 gr)
• 1 small red onion, sliced
• 2 cloves garlic, sliced
• 1 cup vinegar (white or apple cider) (254 gr)
• 1 cup water (240 gr)
• 1 tbsp salt
• 1 tbsp sugar
• 1 tsp mustard seeds
• 1 tsp peppercorns
• Fresh dill sprigs (optional)
<b>Instructions:</b>
<b>1. Prep the Veggies:</b> Wash and slice your veggies. Arrange them in a clean jar, mixing colors for a pretty look.
<b>2. Make the Brine:</b> In a pot, combine vinegar, water, salt, sugar, mustard seeds, and peppercorns. Heat until salt and sugar dissolve, then remove from heat.
<b>3. Pack the Jar:</b> Add garlic slices and dill (if using) to the jar with the veggies.
<b>4. Pour the Brine:</b> Pour the warm brine over the veggies until they’re submerged. Let the jar cool, then seal it.
<b>5. Refrigerate:</b> Put the jar in the fridge and let it sit for at least 24 hours. They’ll taste even better after a few days!
How to Make Quick Pickled Vegetables the Right Way || A Little Help: Quick Pickling
Video by Thrillist
<h3>Pro Tips</h3>
<b>• Spicy Kick:</b> Add sliced jalapeno or crushed red pepper for a bit of heat.
<b>• Sweet and Tangy:</b> Like sweeter pickles? Add more sugar to balance the vinegar.
<b>• Flavor Experimenting:</b> Try fennel seeds, coriander, or cloves for a unique twist.
<h3>Ways to Enjoy</h3>
Your pickled veggies are ready! Use them on salads, sandwiches, tacos, or as a snack straight from the jar. They’re also fantastic with burgers or charcuterie boards. Get creative!
There you have it, your very own batch of tangy, vibrant pickled veggies! With just a few ingredients and a bit of patience, you’ll have flavorful pickles that elevate any meal. So grab a jar, experiment, and enjoy every delicious bite!


