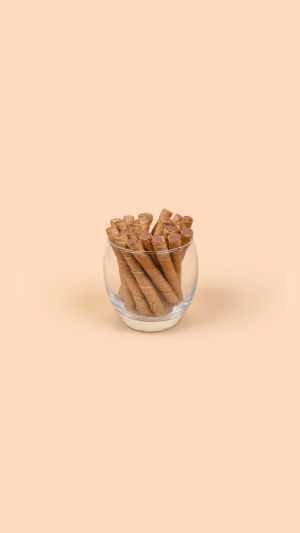
Chocolate wafer rolls are a delectable treat that combines the delightful crunch of crisp wafers with the rich, indulgent flavor of chocolate.
These treats are perfect for satisfying sweet cravings, enhancing desserts, or enjoying alongside a hot beverage.
Not only are they delicious, but they are also easy to make at home with just a few ingredients.
In this guide, we will delve into the fascinating history of chocolate wafer rolls, key ingredients that make them special, and a step-by-step process to create these delightful snacks. Whether you want to impress guests or indulge yourself, chocolate wafer rolls are sure to become a favorite.
<h3>1. The History of Chocolate Wafer Rolls</h3>
Understanding the origins of chocolate wafer rolls adds depth to your appreciation for this delightful treat. Here’s a brief look at their history:
<b>Origins of Wafers:</b> The concept of wafers dates back to ancient times, with early forms appearing in various cultures. Initially made as simple, crisp snacks, they were often enjoyed plain or with minimal flavoring.
<b>Chocolate Evolution:</b> The introduction of chocolate in confectionery came in the 19th century, revolutionizing desserts. The combination of chocolate with wafers led to the creation of various chocolate-covered snacks, paving the way for the chocolate wafer roll we know today.
<b>Cultural Popularity:</b> Chocolate wafer rolls gained widespread popularity in Europe and North America. They became a staple in many households, especially as a versatile snack or dessert addition.
<h3>2. Key Ingredients for Chocolate Wafer Rolls</h3>
The magic of chocolate wafer rolls lies in their simple yet quality ingredients. Here’s what you’ll need to create these delicious snacks:
<b>Wafer Shells:</b> The outer shell is typically made from all-purpose flour, cocoa powder, sugar, butter, eggs, and a pinch of salt. Each ingredient contributes to the final texture and flavor of the wafer.
<b>Filling:</b> While classic recipes often call for chocolate cream or hazelnut spread, you can customize the filling to suit your taste. Options include vanilla cream, fruit jams, or even flavored creams to add a personal touch.
<b>Chocolate Coating:</b> A rich chocolate coating enhances the flavor and adds visual appeal. You can use semi-sweet chocolate chips, dark chocolate, or a tempered chocolate for a glossy finish.
<h3>3. Making Chocolate Wafer Rolls at Home</h3>
Now that you have a grasp of the history and ingredients, let’s dive into the step-by-step process of making chocolate wafer rolls from scratch. Here’s how to create these treats in your own kitchen:
<b>Ingredients:</b>
<b>For the Wafer Rolls:</b>
1. 1 cup all-purpose flour
2. 1 cup unsweetened cocoa powder
3. 1 cup granulated sugar
4. 1/2 cup unsalted butter, softened
5. 2 large eggs
6. 1 teaspoon vanilla extract
7. A pinch of salt
<b>For the Filling:</b>
1 cup chocolate hazelnut spread or chocolate cream
<b>For the Coating:</b>
1 cup semi-sweet chocolate chips or melting chocolate
<b>Instructions:</b>
Prepare the Dough: In a mixing bowl, cream together the softened butter and sugar until light and fluffy. Add the eggs one at a time, mixing well after each addition. Stir in the vanilla extract.
<b>Combine Dry Ingredients:</b> In another bowl, sift together the flour, cocoa powder, and salt. Gradually add this mixture to the wet ingredients, blending until a smooth dough forms. Wrap the dough in plastic wrap and refrigerate for about 30 minutes.
<b>Roll and Bake:</b> Preheat your oven to 175°C. On a floured surface, roll out the dough to about 1/8-inch thickness. Cut the dough into rectangles (approximately 3x5 inches) using a pizza cutter. Place the rectangles on a baking sheet lined with parchment paper.
<b>Bake:</b> Bake for 8-10 minutes, or until the edges are crispy. Remove the wafers from the oven and allow them to cool on a wire rack.
<b>Fill the Rolls:</b> Once cooled, spread a layer of chocolate hazelnut spread on one side of each wafer rectangle. Carefully roll them up to form cylinders.
<b>Coat with Chocolate:</b> Melt the chocolate chips in a microwave or double boiler. Dip each filled roll into the melted chocolate, ensuring an even coating. Place the coated rolls back on the wire rack or parchment paper to cool and set.
Video by Hafsa's Kitchen
Chocolate wafer rolls are a delightful combination of crispy texture and rich chocolate flavor that can elevate any snack time or dessert spread. With their interesting history, simple ingredients, and easy preparation, they offer a fun and rewarding culinary experience. Now that you have the recipe and tips, it’s time to get creative in the kitchen. Indulge yourself and your loved ones with these delicious chocolate wafer rolls and enjoy the sweet moments they bring!


